12V RV Roof Vent Fan RV Roof Automatic Exhaust Fan with LED Light Ventilation Fan for RV Caravan
$185.98
Description
Product function description:
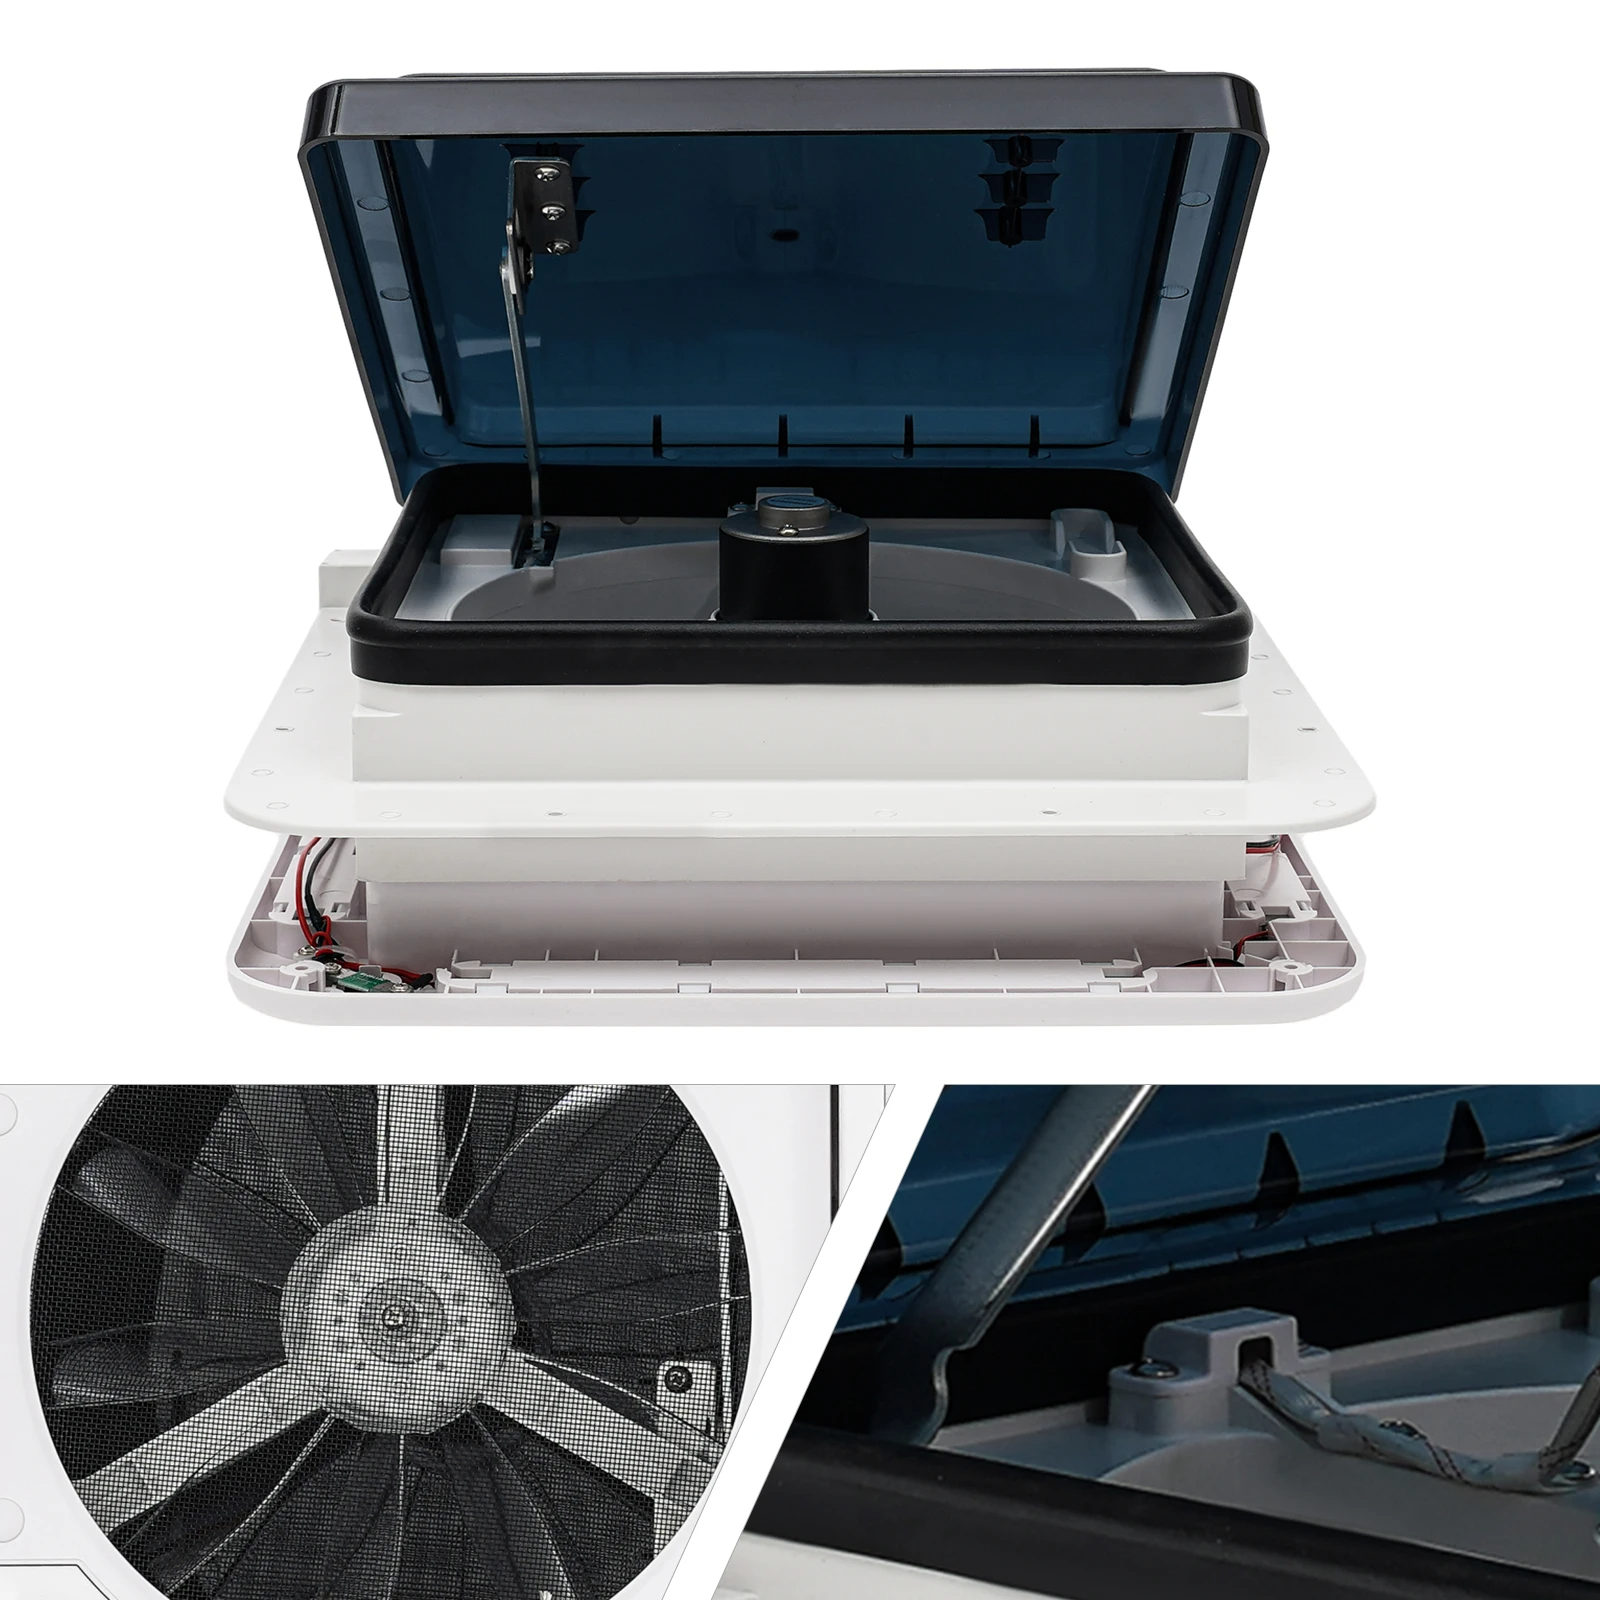
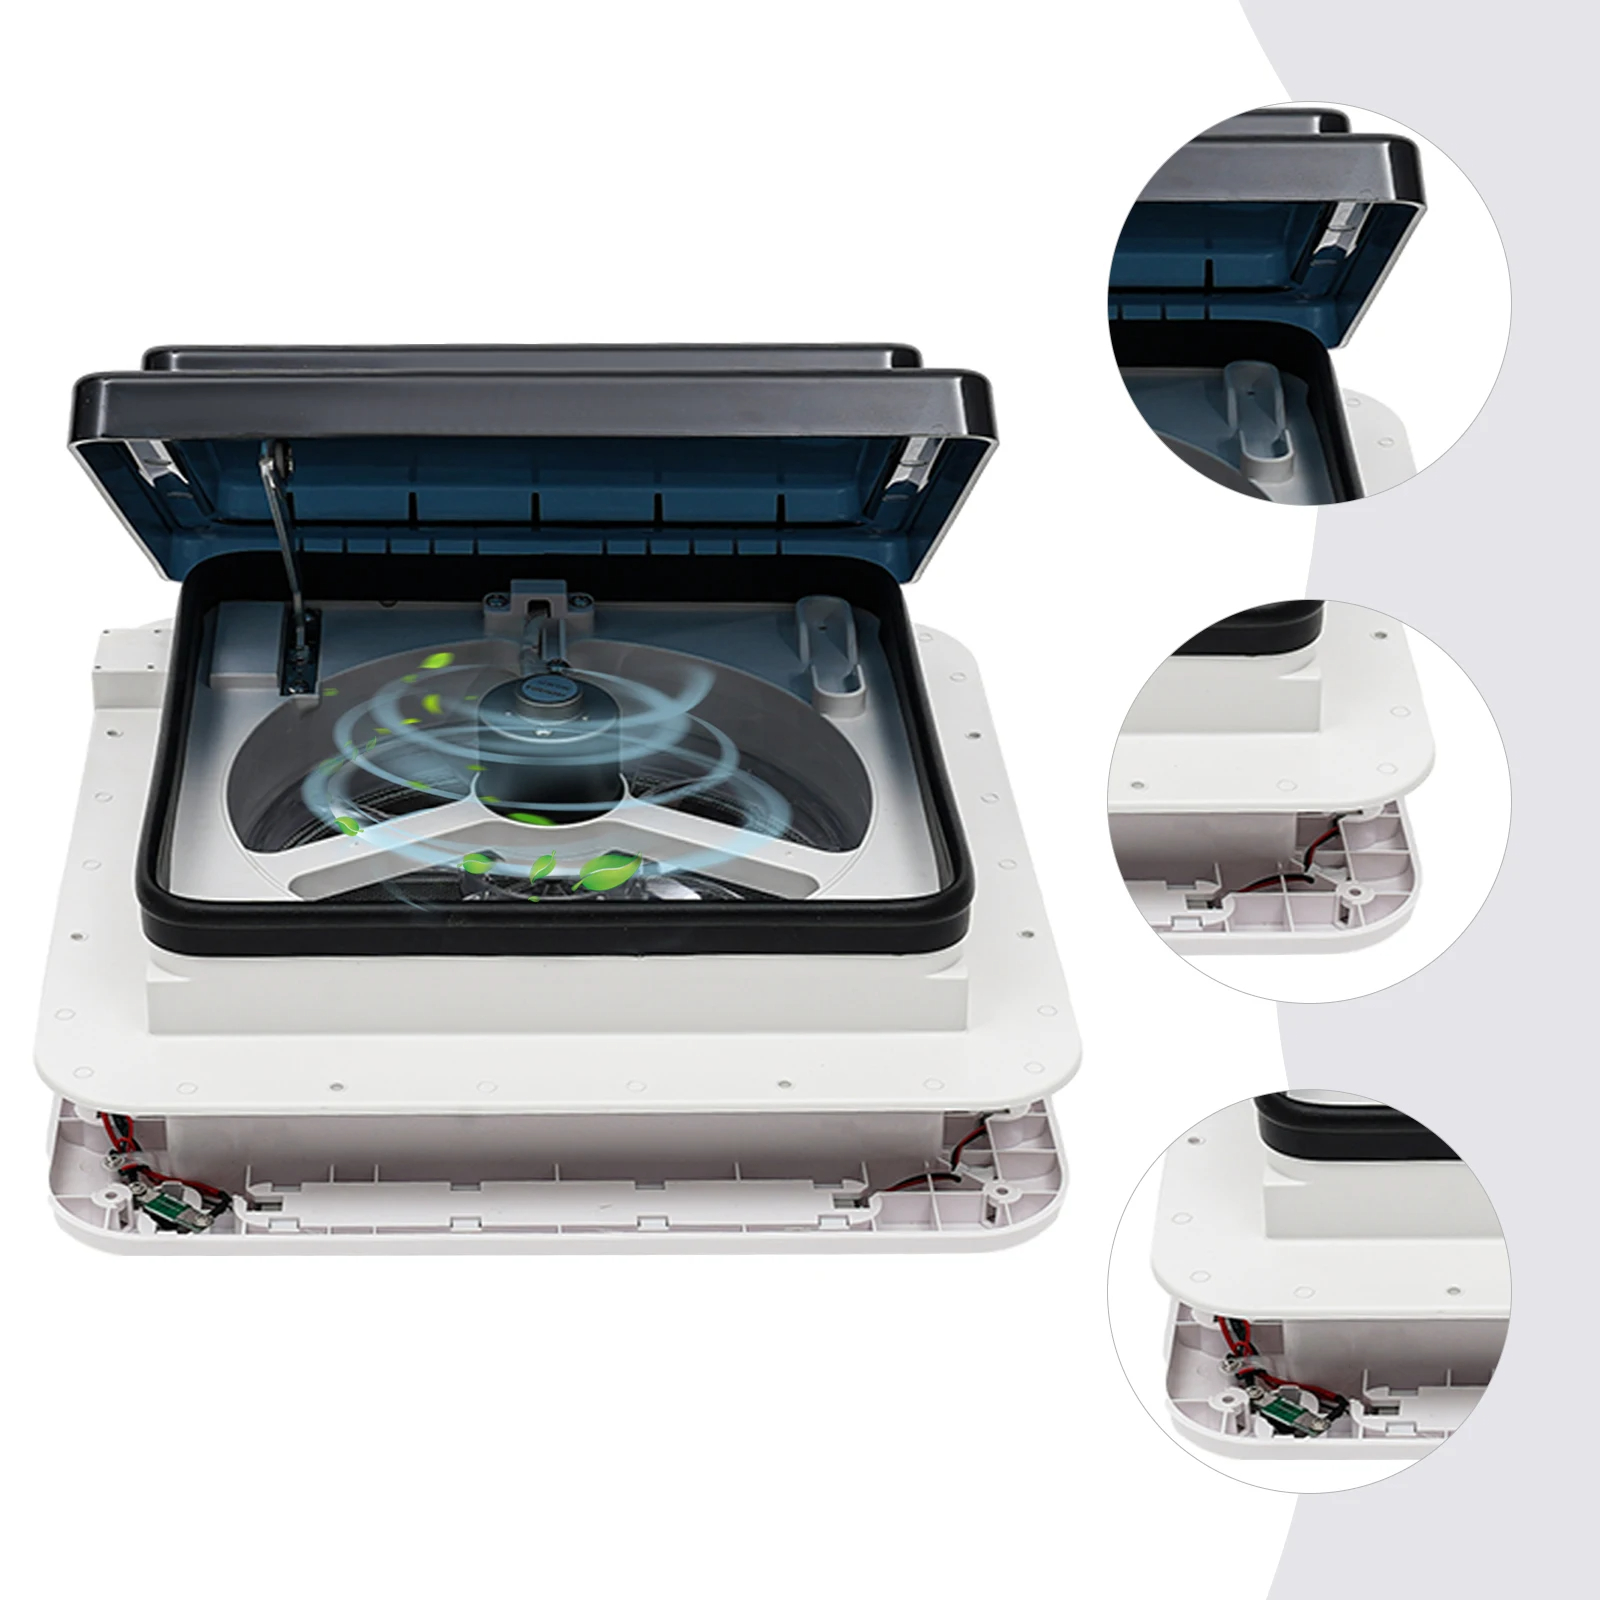
Manual roof ventilation control changes the air in your motorhome or caravan in just a few minutes. It removes smoke from the kitchen and unpleasant aromas from the bathroom and allows you to breathe fresh air outside. Breathe in fresh, natural outdoor air to make your space more comfortable.
Specifications:
Name: RV Roof Ventilation Fan
Vehicle Type: Motorhome & Caravan
Hole Size: 280*280mm
Power: 5-30W
Air Flow Rate: 10-15cbm/Min
Pgr: 1000-1800/Min
Manual: Yes
Insect Screen (Stainless Steel): Yes
Reverse Fan: Yes
Electric: No.
Photic: Yes
Adjustable Speed: No
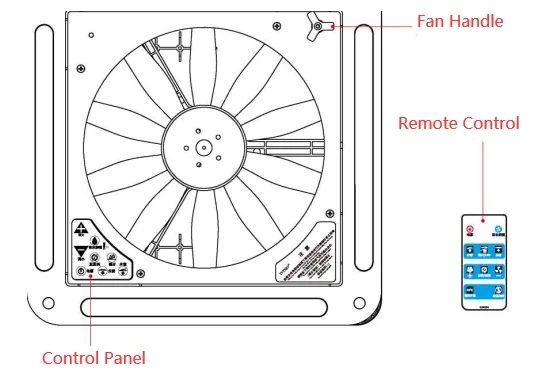
Touch Control Panel: No.
Remote Control: No.
Rain Sensor: No.
Handbrake: No.
Led Light: Yes
Features:
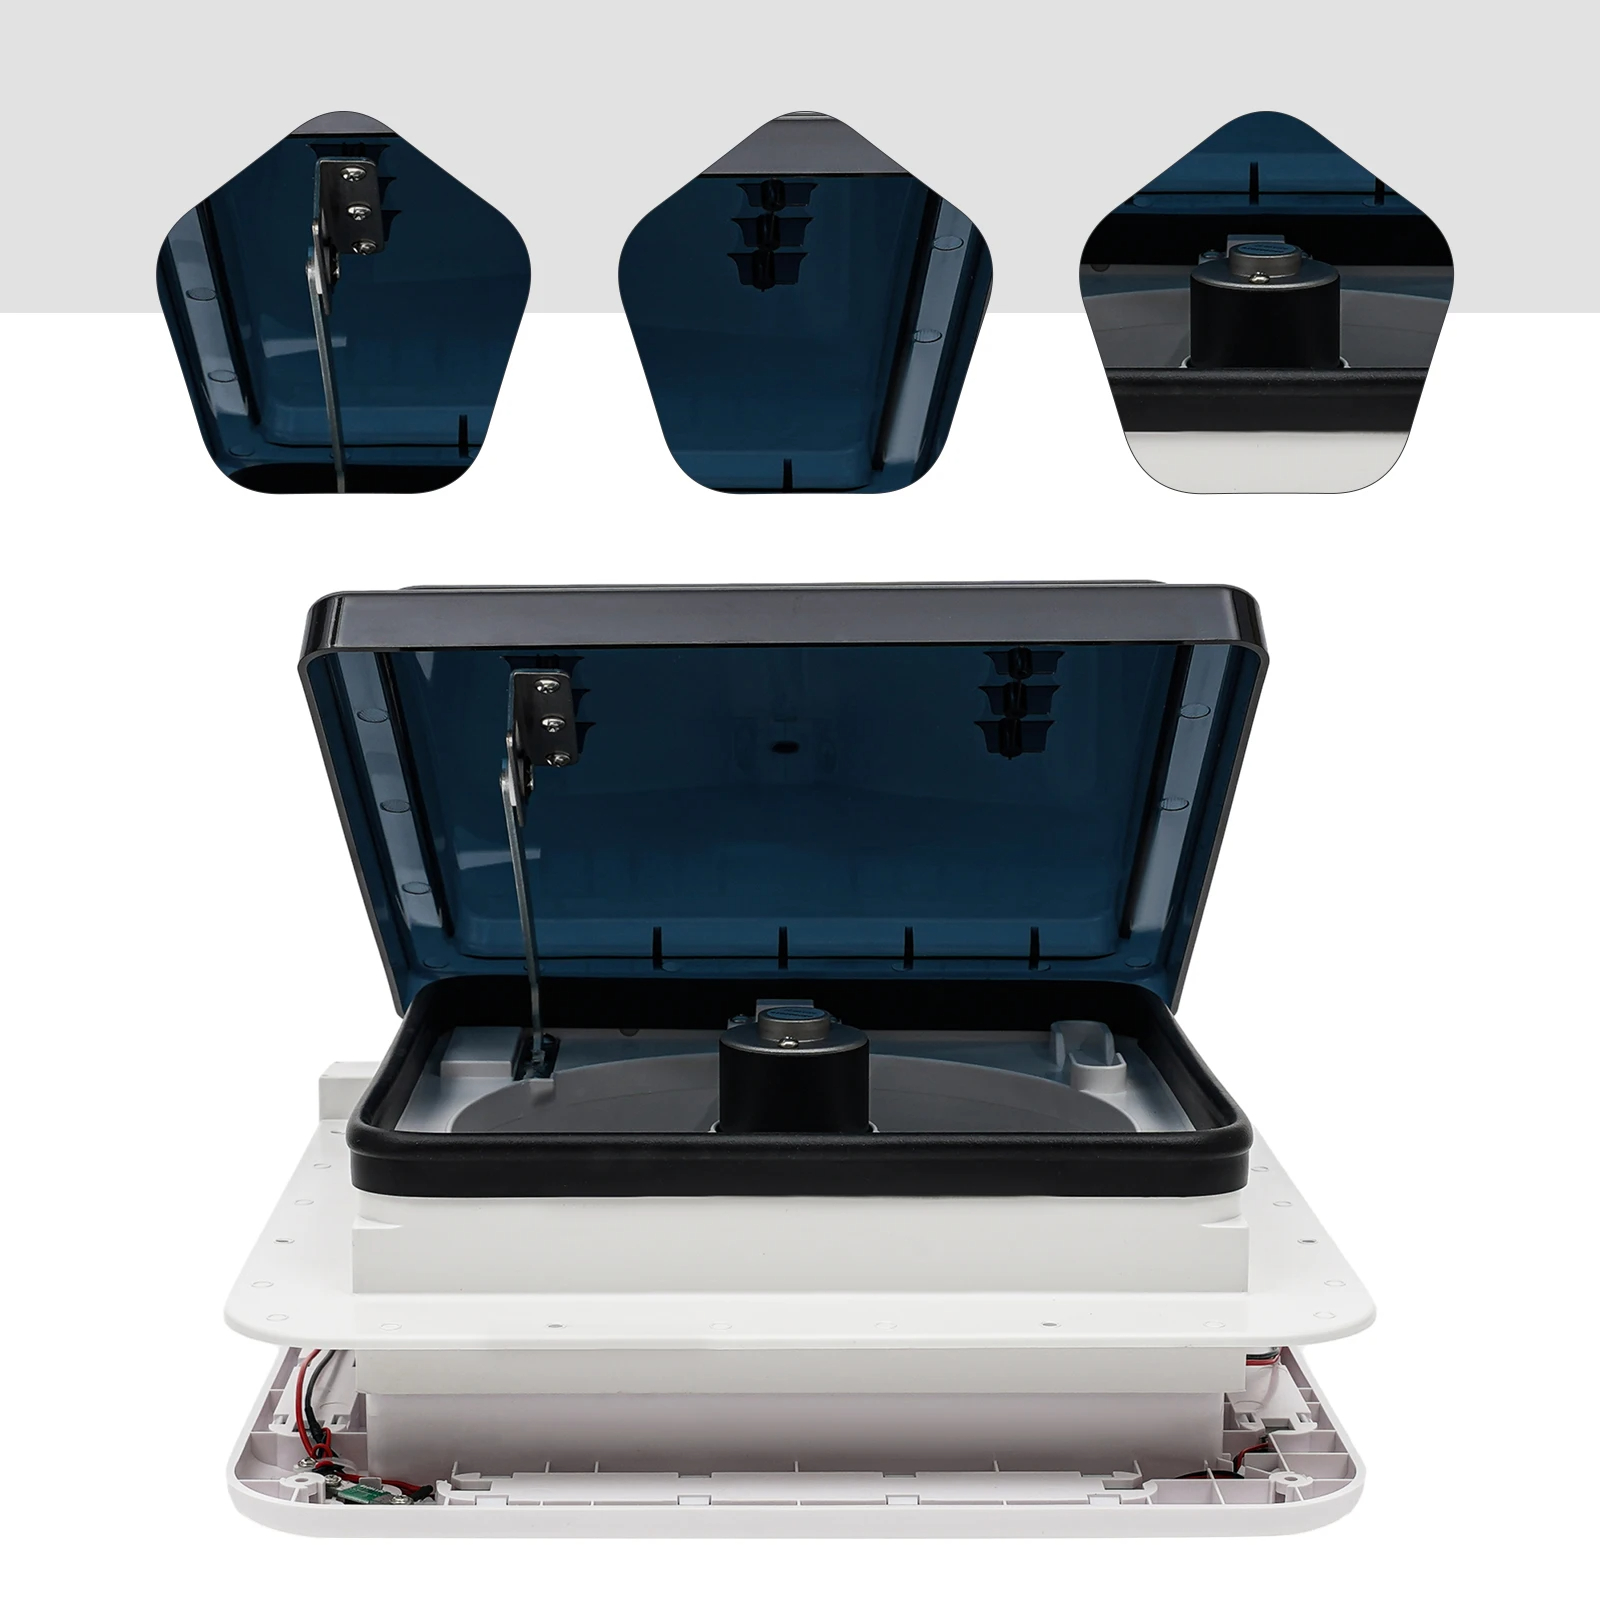
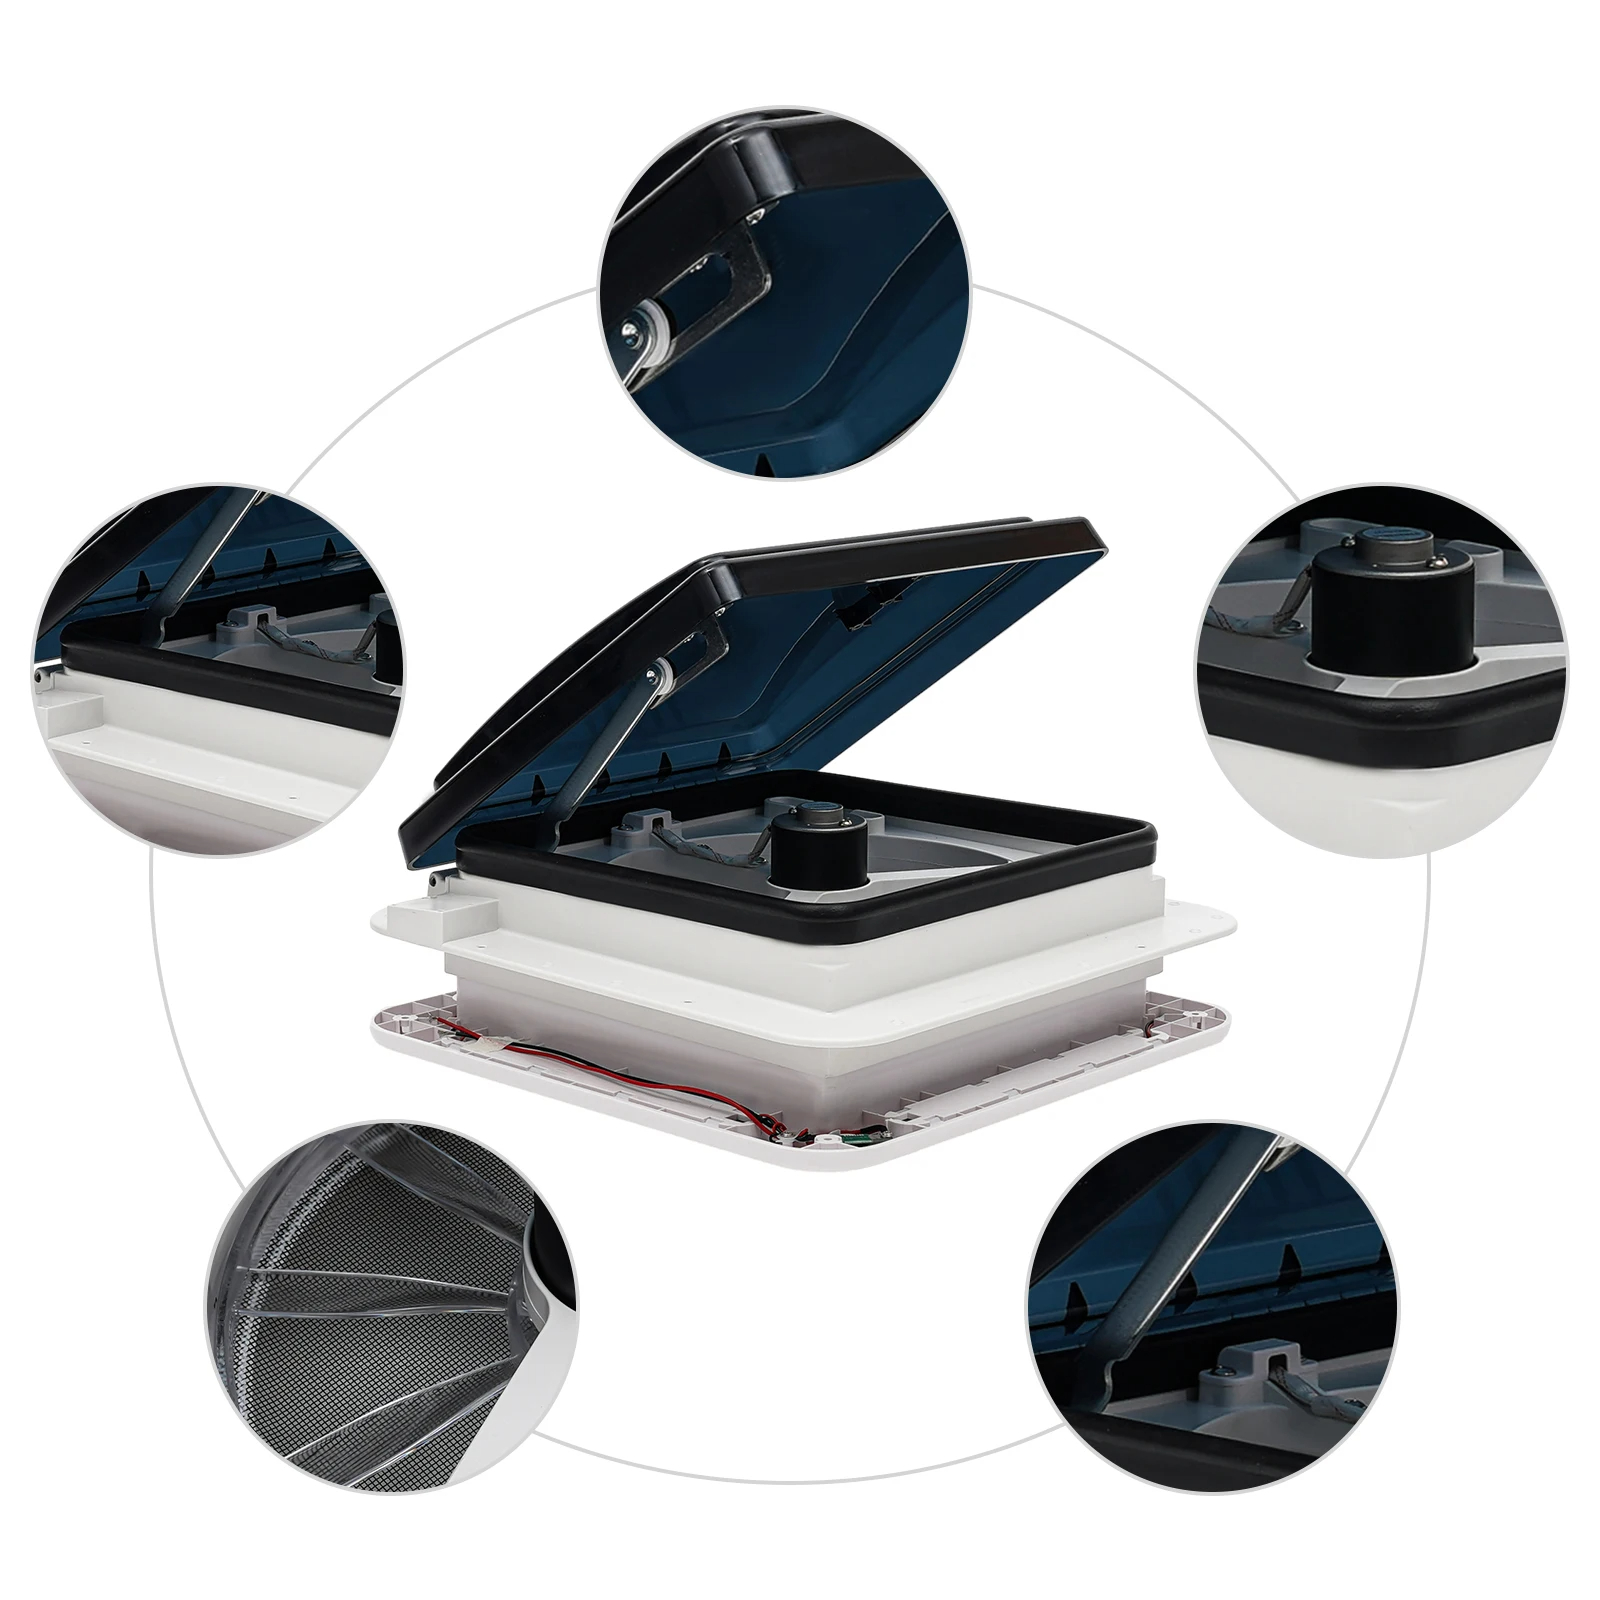
1.Equipped with stainless steel insect protection
2.Motor made from pure copper core, safe and highly efficient
3.Fan with 10 blades, more stable and silent
4.Bidirectional air extraction
5.Waterproof and soundproof, not easy to age
Package Includes:
1 X RV Roof Fan with LED
Note:
Installation instructions NOT included
Professional installation is highly recommended
It is recommended to use a neutral structural glue for installation to avoid the bad combination of acid and alkaline glue that can lead to bad chemical reactions such as corrosion and glue cracking.
CAUTION! Read and understand all safety precautions, installation instructions, and operating instructions before operating this device. Failure to properly follow the appropriate guidelines could result in serious injury, fire, or even death. Please save this guide for future reference.
Fall Hazard: Vent fans are typically mounted on top of the RV. Therefore, climbing on top of the RV to install, maintain, or repair the vent fan is dangerous. Take proper precautions when climbing on top of or working inside the RV. Otherwise, the user could fall and cause serious injury or death.
• Keep the device out of the reach of children and never allow children to operate the device.
• Do not modify or refit this device.
• Make sure the device is disconnected from the power source before performing the installation process. Otherwise, serious injury could result.
• Do not leave the fan cover open for long periods of time or unattended during abnormal weather conditions, as this could result in leaks and serious damage.
• Do not use this product in inclement weather conditions.
• Do not wear or hold loose clothing, fabrics, jewelry, or other materials near the vent fan. If something gets stuck in the fan blades, unplug the fan immediately and clear the obstruction to avoid injury.
Depending on the model, the actual design of the fan may vary.
Recommended tools:
● Measuring tape
● Screwdriver or hand drill
● Bookmark
● Hole cutter
● Waterproof sealant
Installation guide:
Note: Make sure the unit is disconnected from the power source before beginning the installation process.
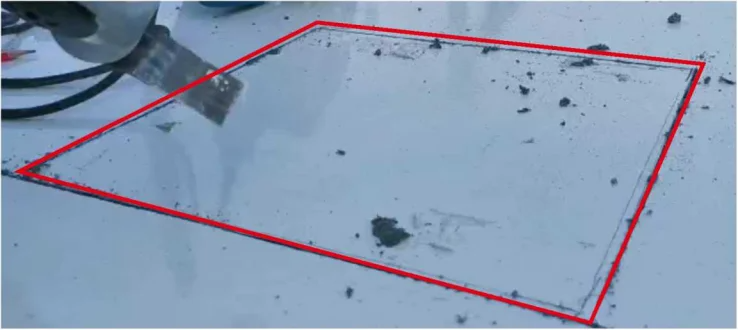
1. The TYTXRV RV sunroof vent fan requires a ’28cm x 28cm/11 inch x 11 inch’ or ’34cm x 34cm/13 inch x 13 inch’ top opening’ depending on the size of the fan purchased. Place the flange on the fan into the roof opening (with the fan cover opening facing the rear of the RV) and trace the outline of the mounting flange with a pencil (You will need to install the fan flange on the top of the RV.)
NOTE: If replacing the ventilation fan, be sure to remove all old sealant when removing the old ventilation fan. Clean any sealant or other debris from surrounding roof vents. Check roof vents for damage or leaks before proceeding with new installation.
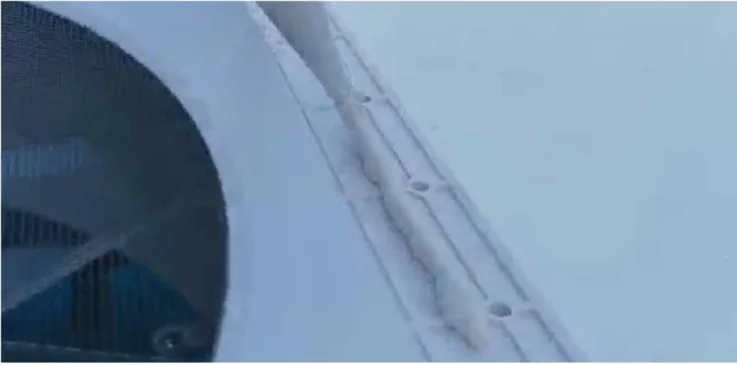
2. Remove the mounting flange from the neck opening and turn it upside down. Apply a compatible sealant or filler to the bottom surface of the mounting flange.
3. Press the mounting flange down to the top and use the screws to secure the mounting flange to the top.
4. Apply additional structural adhesive to the screws and around the mounting flange to prevent gaps.
5. Use the wire to connect the ventilation fan power cord to the 12V power supply located in the RV.
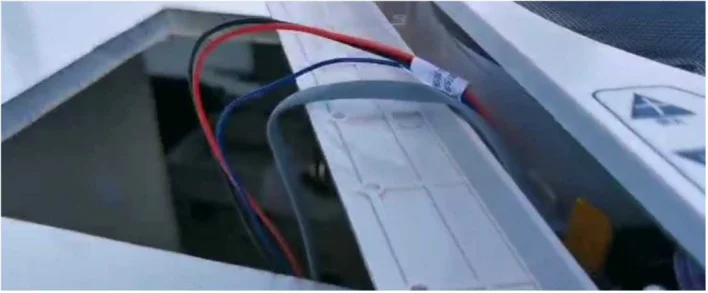
Note: The wire must be at least L5 square or above, red wire to battery positive terminal, black wire to battery negative terminal, blue wire to parking brake wire, connected to the vehicle’s brake control system (the models manuals do not have this thread).
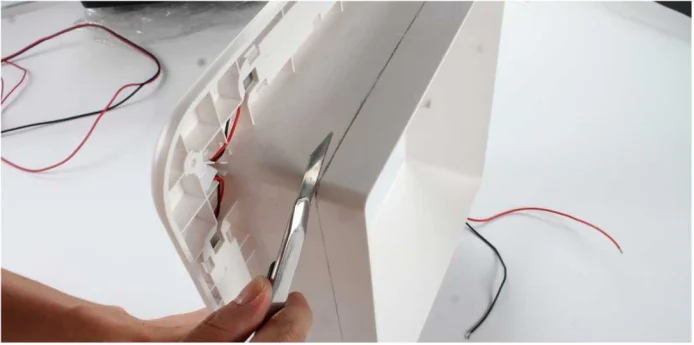
6. Measure the thickness of the top of the RV. If the top of your trailer is thin or the interior trim is too long, cut the interior frame of the lift to fit the top opening of the trailer.
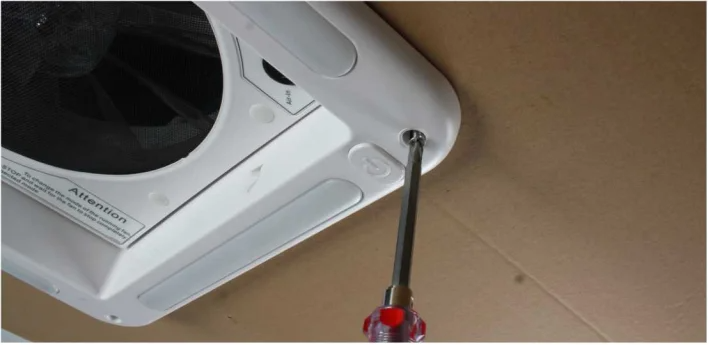
7. From inside the RV, place the interior lift frame over the exhaust fan and secure it using screws.
Note: To use large flat head self-tapping screws for installation
Maintenance/Maintenance:
To clean the fan blades, do the following.
1. Before inspection, turn off the fan exchanger and disconnect the RV power supply wiring before cleaning the fan exchanger.
2. Pour a large amount of water onto a soft cloth and wipe the bottom surface of the ventilation fan.
3. Remove the screws to clean the filter and remove the inner fan panel.
Note: The powered power cord must remain connected to the internal circuit board or associated switch. Handle the interior with care. Make sure the power cord is properly connected without tears or breaks or the fan will not start operating.
4. Once the ventilation fan blades are no longer spinning, clean and clean the blades by washing with soap and warm water.
Note: Check that there is no water on the circuit board. Water on the circuit board will damage the product.
5. -Once the parts are clean and dry, place the inner plate back into its original position inside the product.
6. Carefully fold and tie the power cord inward. Don’t leave it between the two parties.
7. Put the panel back in place
8. After the maintenance and cleaning process is complete, reconnect the wires.


Additional information
| Weight | 2.7 kg |
|---|


